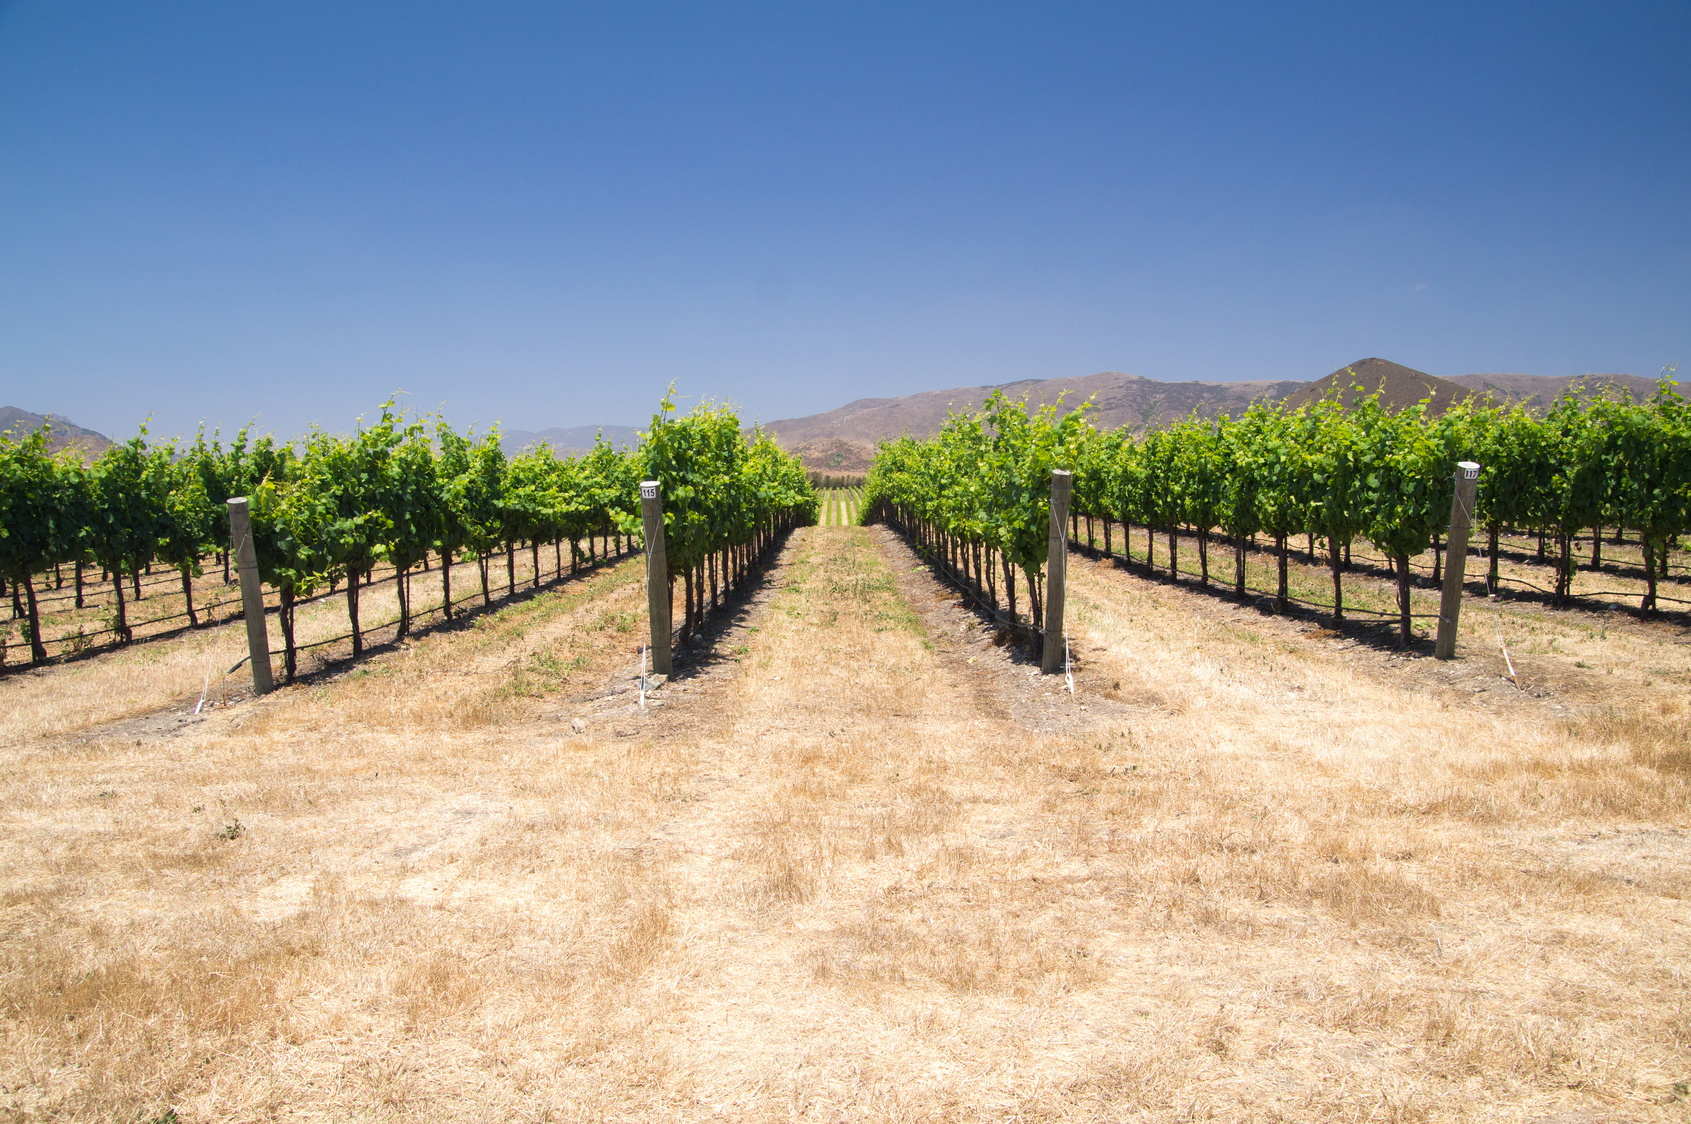
Even in normal conditions, managing water use for irrigating crops is an enormous challenge for farmers. Too much or too little water can ruin a crop, spoil a harvest and waste months of careful preparation.
In California, the management of irrigation and water resources is more important than ever as the entire state is struggling with a prolonged mega-drought that has led to the depletion of water resources throughout the state.
This drought has been especially hard on farmers, as the estimated costs to California’s agricultural economy are, according to one CaliforniaWaterBlog.com article, expected to “reduce crop, dairy and livestock revenues by $1.2 billion this year” and to “cause direct costs of $1.8 billion” to California’s agricultural economy.
The shortage of water in the State of California is expected to cause the net loss of 2.5 million acre-feet of surface water, which the article states as being “9 to 10 percent of the amount normally applied to crops.” This makes the current year even harder than 2014, where the shortage was 1.5 million acre-feet.
Drought conditions have gotten so bad in California that the Governor declared a state of emergency some time ago, calling on state officials “to take all necessary actions to prepare for water shortages,” which included fines for those who failed to follow water conservation regulations.
With water so scarce in California at the moment, farmers have to be more careful than ever before with their irrigation efforts. Farmers need to know when they have “just enough” moisture in their soil to keep crops healthy to avoid wasting water.
The question is, how can farmers reliably measure the moisture content of their soil to determine the necessity of irrigation, and the amount of water that should be used?
Detecting Soil Moisture for Irrigation Control
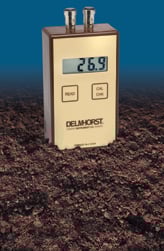 A moisture meter for soil, sometimes referred to as a damp meter for soil, is a device that can give farmers a quantifiable reading of the moisture conditions deep in soil.
How do these devices work?
One example of a soil moisture meter would be Delmhorst’s KS-D1 meter. This meter uses special electrodes that are installed deep within the soil to get readings of moisture conditions underground.
The most common electrodes used for this are the GB-1 Gypsum Sensor Blocks. These blocks encase two stainless steel electrodes within a shell of gypsum. The gypsum material is hygroscopic, meaning that it absorbs or releases moisture until it reaches an equilibrium with its environment.
Using gypsum blocks to absorb moisture from the surrounding soil to measure moisture is important, as it tells farmers how much moisture can be absorbed from the surrounding soil, rather than just the actual moisture content of the soil itself. This is necessary information, as it tells you how much moisture your plants will be able to get from the soil.
Checking Soil Moisture with a Soil Meter
Naturally, before you can start checking the available moisture of your soil, you have to install the sensor blocks for the soil moisture testing device that you’ll be using. Here’s a summary of the process:
-
The first step is to prepare two holes at each testing site you’ll be installing your gypsum sensor blocks into. How deep you dig the holes will depend on the active root zone of your crop. You can get a list of shallow and deep block depths to dig in the KS-D1 Owner’s Manual. A 1” soil auger should be sufficient for this task.
-
Once you’ve dug both a shallow and a deep hole at your testing site, mix some soil and water to create a slurry mixture with a creamy consistency and pour 1 or 2 tablespoons of it into each hole.
-
Push a gypsum block into each hole, making sure that your slurry mixture completely covers the block. For especially deep holes, you can use a plastic or aluminum tube to push the block into place.
-
Back fill the hole, tamping the soil every so often as you go.
-
Fasten the leads of the electrodes to a stake so you can keep them clean and easy to locate. Use a colored tag or a knot so that you can ID which lead is for the shallow block and which one is for the deep block.
These sensor blocks should be given a day or two to acclimate and reach a steady equilibrium with the surrounding soil. Once the blocks are set, simply plug in your soil moisture meter and take a reading, you should get a result almost instantly.
To make sure that results are reliable, use multiple testing sites that are set apart by 20 feet or more so that you can check results for different areas of your crop.
Gypsum blocks work best in fine soils, such as loamy clay. Sandy soils make it difficult for the blocks to achieve equilibrium, potentially skewing reading results.
When you’re looking to more accurately manage your irrigation water use to avoid waste, soil moisture meters are a must-have item!
To learn more about moisture meters, check out our free guide at the link below: