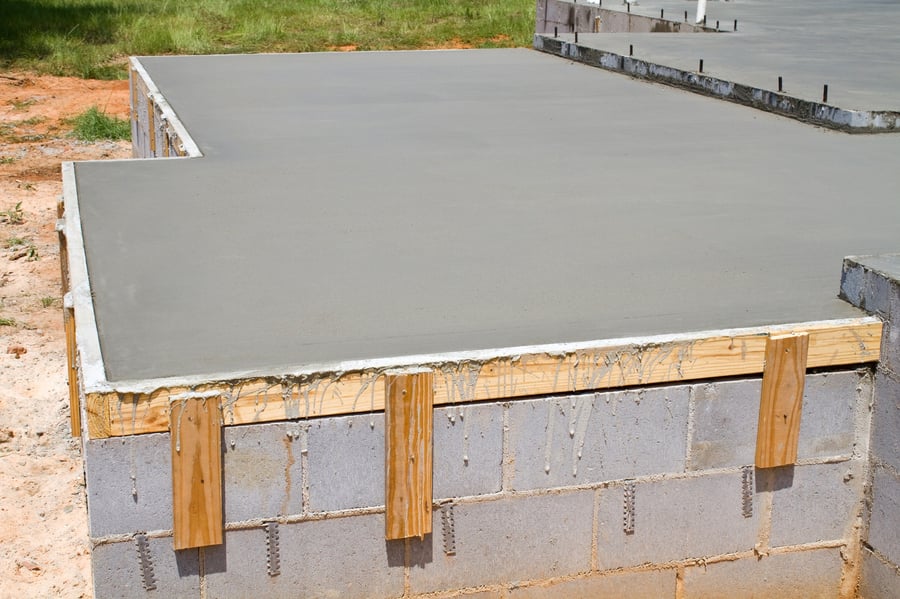
For any flooring installer and inspector, testing the moisture of concrete can be a pain. Unlike wood or other building materials with a consistent set of physical properties, concrete can have countless different properties from one batch to the next, even when two mixes come from the same manufacturer!
This prevents concrete from having a consistent electrical resistance value to allow pin-type moisture meters to get accurate readings. The variable density of concrete mixes means that there is no consistent specific gravity value for pinless meters to be calibrated to, either.
Calcium chloride tests are another popular testing method. However, they only reveal the moisture conditions in the top layer of the slab. Because of this, these tests miss the moisture conditions in the deeper layers of the slab, where the majority of the moisture resides. So, while useful for determining if the slab is ready for a chemical sealant to be applied, a calcium chloride test doesn’t provide the whole picture to a contractor.
So, how can contractors perform reliable concrete moisture tests, ones that generate quantifiable results that can be used to guide installation decisions?
The best way to get accurate information about the moisture conditions deep inside of a concrete slab is to follow the ASTM F-2170 standard, which was recently updated by ASTM to a 24 hour waiting period.
The 5 Steps of Measuring Moisture Using ASTM F-2170
Testing concrete moisture under the F-2170 standard is a process that involves several different steps:
- Drill the Holes for the In-Situ Probes. The process begins with the preparation of multiple holes in the concrete for the installation of the in-situ probes. The holes should be 5/8” in diameter and be drilled to a depth equal to 40% of the slab’s thickness. For a concrete slab with 1,000 sq. ft. of area or less, three holes should be prepared. Larger slabs will need on extra hole per 1,000 sq. ft. of surface area. Rotary hammer drills with drill bits that have three or four cutting edges are generally recommended for this task.
- Clean the Holes. After the holes are drilled, they should be vacuumed to remove loose concrete chunks. The sides of the hole should be brushed with a wire brush to knock loose any debris, then the holes vacuumed again.
- Seal the Prepared Holes for Acclimation. The next step after cleaning the holes is to seal them so they can acclimate to the conditions deep in the slab without being contaminated by outside air. For this, you’ll need some specialized sleeves. Once the sleeves are in the holes, seal the gap with silicone or a similar water-resistant sealant. Finish installing the sleeves by using a hammer or rubber mallet to make sure the sleeves are in tight, and cap them with their appropriate lids.
- Wait 24 Hours. After sealing the holes, give them 24 hours to completely acclimate to the conditions in the concrete slab. The ASTM standard used to require a 72-hour wait, but this was changed by the ASTM F06 committee.

- Insert Your Probes and Start Taking Readings. Once the holes you’ve prepared have been given sufficient time to acclimate, remove the cap, insert the in-situ probe (connected to a thermo-hygrometer), and start taking readings! If you want to, you can leave probes in the holes to repeat tests over time as needed. However, if you leave any probes in a concrete hole for 30 days or more, it will need to have its calibration checked before you can consider readings from that probe valid under ASTM standards.
Using this process, you can gather quantitative data about the moisture conditions deep in the slab—which is useful for determining your risk of moisture-related problems later on.
What You Need to Follow This Process
To follow this process, you’ll need to have a few specific tools available, including:
- A rotary hammer drill with 5/8” drill bits (to drill the holes in the concrete).
- An industrial-grade vacuum to clean out the concrete holes.
- A wire brush for scraping the sides of the holes to remove loose debris.
- Sensor sleeves (at least one for each hole you need to drill).
- Silicone or another water-resistant sealant (to close the seal between the concrete and the sensor sleeve.
- A thermo-hygrometer that is compatible with remote probes (such as Delmhorst’s HT-4000F).
- In-situ probes to place into the holes and take readings with.
With all of these tools in hand, plus the obligatory safety gear for the jobsite, you should be ready to take accurate measurements in concrete on nearly any job!
Need more information about following ASTM F-2170? Or, need help finding the right thermo-hygrometer for your needs? Delmhorst is here to help! You can contact us for more information, or check out our flooring guide for more information about moisture testing and flooring systems!