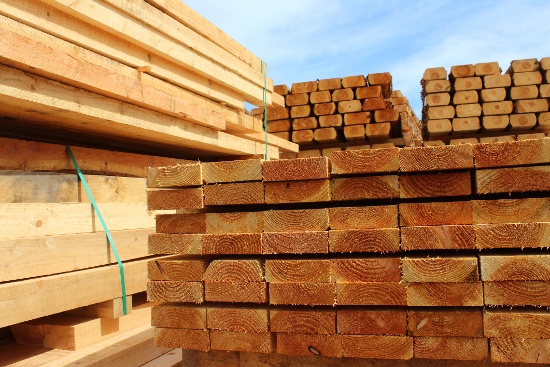
If you’re an intrepid do-it-yourself enthusiast getting ready to complete a major project that involves wood, it’s important to know how to measure the moisture content of that wood for your DIY project.
Whether you’re making home furniture or installing hardwood floors, moisture in wood can be a major concern for you. Why?
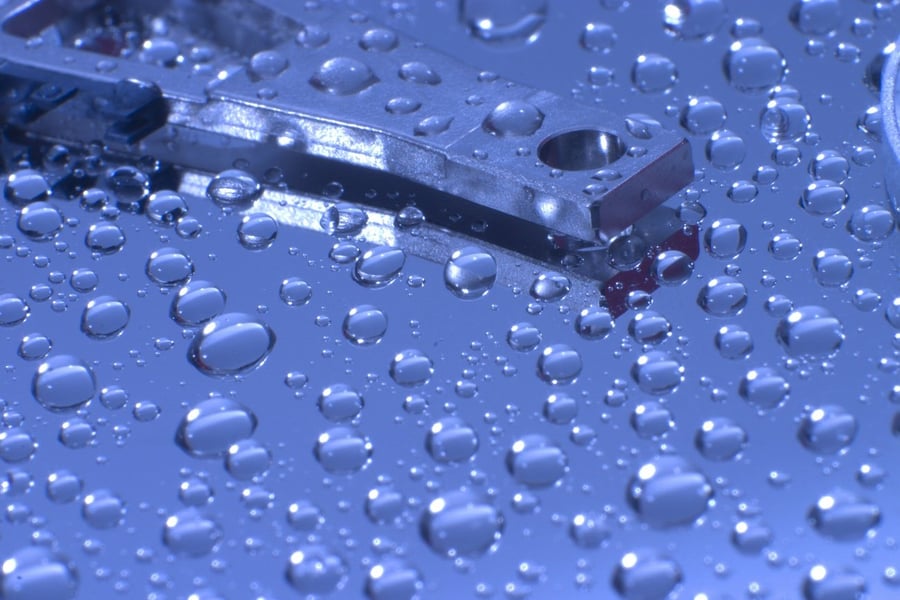
For example, excess moisture can cause wood to swell or become misshapen. Or, if left alone for long enough, moist wood can even develop mold, essentially rotting away from the inside.
With this in mind, how can you measure the moisture content of wood in your DIY projects?
There are a couple of ways, with different levels of practicality for DIY applications.
Method A: Oven Dry Testing
One of the oldest ways to measure the moisture content of any hygroscopic material is the oven dry test. This test has two methods described in ASTM D4442, Method A and Method B (the "primary" scientific test and the "secondary" method, respectively).
The general strategy of an oven dry test involves drying wood in a well-ventilated oven or kiln over a long period of time. After each cycle of drying, the wood is weighed to verify its weight. This process is repeated until the weight of the wood stops changing.
By comparing the dried out weight of the wood to the wood's original weight, you can establish a very accurate original %MC for that piece of wood.
For example, say that you had a piece of wood weighing 10 pounds, and put it through the oven dry test until it stopped losing weight at 9.5 pounds. In this instance, the %MC of the wood would be roughly 5%, as .5 pounds of the wood’s weight was water, and .5/10=.05, or 5%.
Generally speaking, oven dry tests are considered the most accurate way to determine moisture in hygroscopic materials such as wood—assuming the test is properly executed.
However, this method isn’t usually preferred by DIY enthusiasts for several reasons:
- It’s Slow. Testing moisture by drying out a wood sample can take hours, and rushing the process can burn the wood, ruining it.
- Renders Tested Wood Unusable in Many Instances. As great as this process is at establishing %MC by water weight, wood that has been over-dried may not be useable for your original purpose because of the deformations that can occur as a result of heat exposure and rapid drying.
- Not Everyone Has the Right Type of Oven. Professional woodworkers might be able to have a kiln just for drying wood, but do-it-yourselfers might not have a ventilated oven that’s up to the task of drying wood evenly. An oven that can’t maintain the right temperature or provide sufficient ventilation can skew the test results.
These three issues alone are enough to prevent most do-it-yourself enthusiasts from trying to use the oven dry test method for their woodworking projects.
However, there is a faster way to check the moisture content of wood that’s still more than reliable enough for your DIY wood project testing needs:
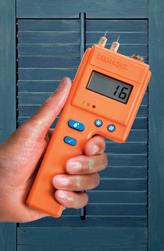
Method B: Using a Moisture Meter for Wood Flooring
Rather than taking hours to carefully dry lumber samples and weigh them to check their original moisture content, many DIY enthusiasts now use modern technology to give them a fast, accurate reading of the %MC of wood on the go.
Moisture meters for wood come in a variety of types, with many different features in each. These meters can be broken down into two broad categories by method of measurement:
- Pin-Type Meters. These devices use two or more electrodes to measure a wood sample’s moisture content using electrical resistance. Since wood is a natural insulator, and water is a conductor, the more resistance there is to the electrical current, the drier the wood, and vice versa.
- Pinless Moisture Meters. Also called “damage-free” meters by some, these moisture meters use a specialized scanning plate to pass an electromagnetic wave through a material sample and create a reading of the average moisture content in the scanning area.
These DIY moisture meter types have both advantages and disadvantages.
For example, pin meters will leave tiny holes in the materials they test because you have to penetrate the surface with the electrodes to get a reading. On the other hand, pinless meters have to make complete contact between the scanning plate and the material being scanned to get an accurate measurement.
In most cases, using these meters is remarkably simple.
To use a pin-type wood moisture meter, simply insert the pins into the material you want to test and activate the meter. An electrical current will be passed from one pin to the other, and the meter will give you a reading based on the resistance to the current.
With pinless meters, all you have to do is press the base of the scanning plate securely against the wood you’re checking and activate the meter. Again, the meter will run its scan and give you a reading that you can use.
Pinless meters are faster than pin meters at scanning large areas because they measure a larger area. Also, they don't leave pinholes in the wood being tested—which makes them ideal for measuring moisture in beautiful hardwood flooring.
Some meters might have more advanced features based on their manufacturer, such as built-in temperature or wood species corrections. To use these features, you’ll probably want to consult the individual owner’s manual for your moisture meter.
Overall, moisture meters are a fast, accurate, and convenient way for DIY enthusiasts to check the moisture content of wood on the go.