For plumbers, restoration professionals, and even home or business owners, locating leaks quickly is essential. When moisture intrusion in a structure is allowed to continue unabated, it can lead to various structural problems and health hazards, such as:
-
Collapsing walls, ceilings, or floors;
-
Mold growth; and
-
Pest infestations.
Most of the time, when we discuss methods of finding leaks in a structure, we refer to using pin-type moisture meters for the job. However, can pinless moisture meters also be used for locating leaks?
In a few situations, a pinless moisture meter can be invaluable for rapidly finding leaks in a structure. With this in mind, here’s how to find leaks using a pinless moisture meter:
Moisture Testing with Pinless Moisture Meters vs. Pin-Type Meters
Pinless moisture meters work a bit differently from pin-type meters. Where pin type meters use a pair of electrodes to measure resistance to electrical current, pinless moisture meters use electromagnetic frequencies to “scan” a material sample for the presence of moisture.
Because pin meters will measure only the moisture content of the material between the pins, they tend to be very precise for identifying the exact boundaries of a moisture-compromised area. Also, if you use insulated pins, it’s easy to determine exactly how deep a leak source or moisture pocket is.
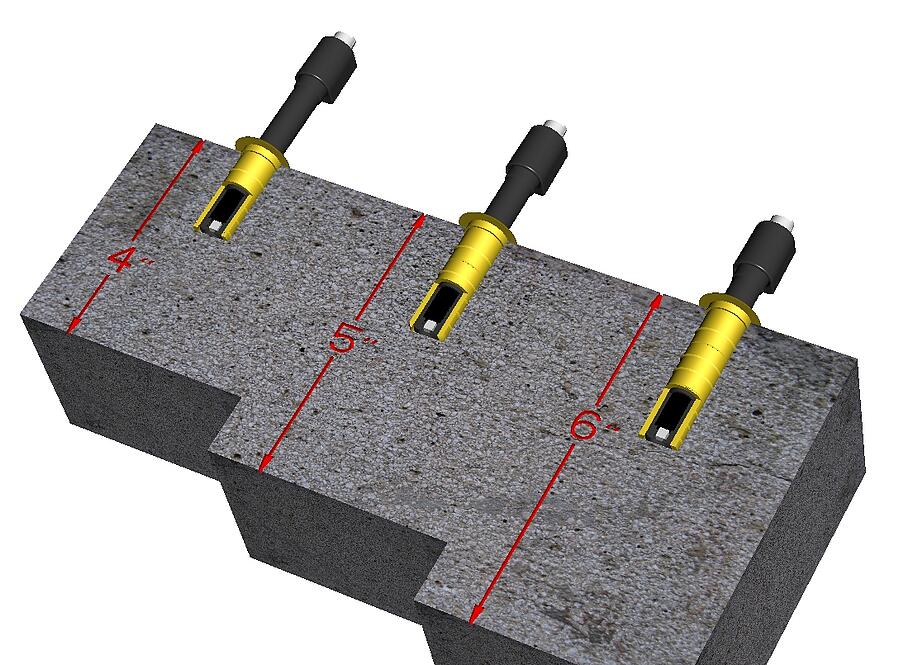
Pinless moisture meters, on the other hand, scan a fairly large area. While this does sacrifice a bit of precision in determining the exact depth and borders of a leak or moisture pocket, it is much faster than pushing in the pins.
It’s also important to note that, to work properly, a pinless moisture meter requires a flat, solid surface. So, the types of materials that you’ll be able to check will be limited somewhat—for example, if you were checking insulation, you would need a pin-type meter with extra-long probes instead of a pinless moisture meter.
How to Find Leaks with a Pinless Moisture Meter
Moisture testing with a pinless meter is a relatively simple process once you get started, but first, there’s a little bit of prep work to do.
Before you start tracing leaks in a structure, you’ll want to set the pinless moisture meter to its reference scale mode (if it has one). For example, Delmhorst’s pinless ProScan digital moisture meter has this mode as an option, and the TechScan analog pinless meter has a color-coded bar on the bottom.
Once your meter is in the reference mode, it’s vital to take a dry sample reading of each type of building material you’re going to be testing in your search to locate the origin point of a leak. This way, you know what a dry indication would be for each type of material. For example, if you’re going to be testing for leaks in the floor, you have to take a reading of the floor in a spot you know to be dry—the same goes for walls when you’re finding leaks in walls.
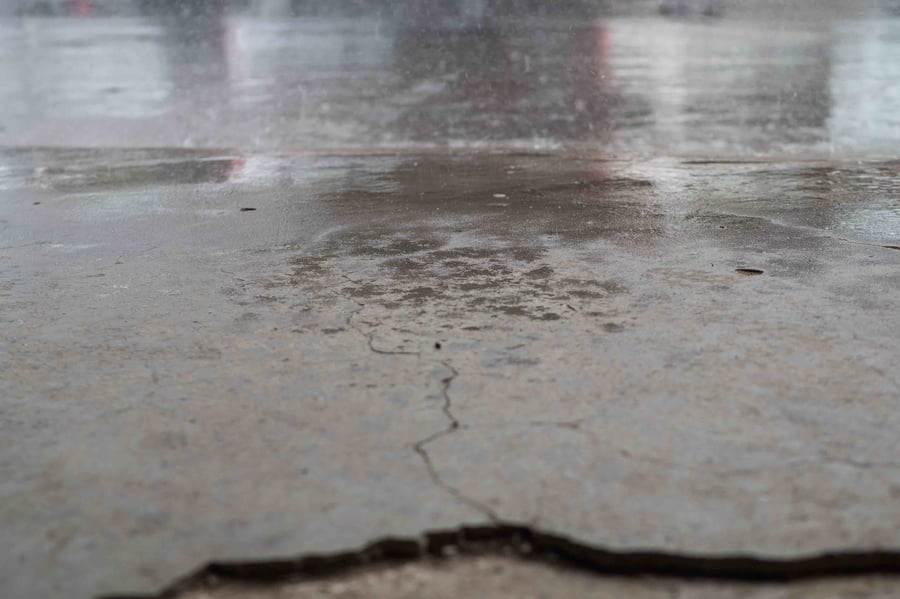
For tracing leaks in floors and ceilings, simply push the moisture meter against a flat surface and take a reading. Then, lift the meter, place it down in a different spot, and take another reading. You can start near where you suspect the leak is, or simply try to cover the entire floor. If you do find a wet patch of flooring or ceiling material, keep checking around the area until you establish a rough outline of the moisture-compromised material.
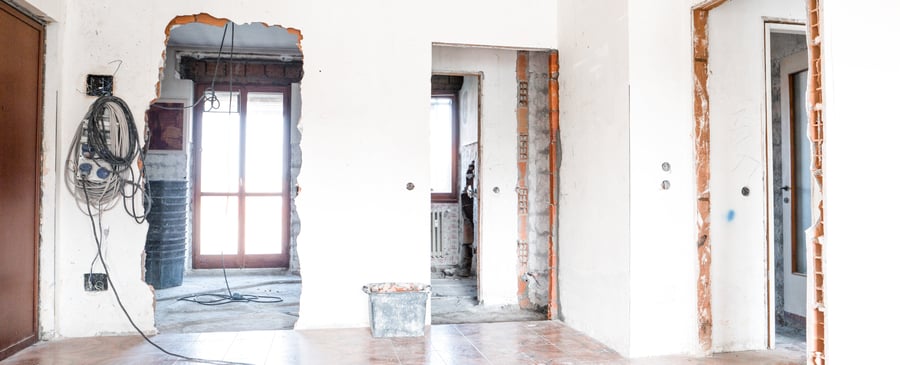
When finding leaks in walls, it’s important to remember two things:
-
A pinless meter may end up scanning materials behind the wall if it’s thin enough; and
-
If a leak is deep behind a wall, it may occur much higher than the point where the wall becomes wet.
Why would the point where a wall indicates wetness be much lower than the leak’s origin point? Because, water follows the path of least resistance. If that path doesn’t take the water laterally to the wall right at the level the leak occurs, it will instead flow down into the building materials below the origin point, then pool outwards as those materials become saturated.
Also, when testing for moisture in walls with a pinless meter, the meter will provide an average of the moisture content it detects throughout its full scanning range. If that includes some empty space because the wall is thinner than the meter’s scanning depth, then that may create a false positive. Because of this, it may be better to use a pin-type moisture meter when trying to find leaks in a wall.
When to Use Pinless Moisture Meters for Finding Leaks
Many restoration experts use a pinless moisture meter early on when locating leaks in a structure so they can thoroughly cover large areas of a room as quickly as possible. Once they have a general feel for where the leak is in a structure, then they switch over to a pin-type moisture meter to get more precise information.
Some people even use 2-in-1 moisture testing devices such as the TechCheck PLUS moisture meter to get the best of both worlds when testing moisture.
Need help finding the right moisture meter for your moisture testing needs? Contact the professionals at Delmhorst for help and advice.