Most home and business owners prefer not to have mold growing in their buildings. But, very few actively check for mold until it is too late, and the mold has started to actively exhibit its most common symptoms: musty odors and discoloration of building materials.
Why should you check for mold risks? Furthermore, how can you identify mold risks in a building before they become a problem?
Why You Should Check for Mold Risks
Mold in structures can be problematic for numerous reasons:
- Mold creates musty, unpleasant odors;
- Mold growth can weaken walls, floors, ceilings, and building frames, increasing the risk of sudden catastrophic failure; and
- Mold can be a health hazard. Some species of mold can release toxic spores that create respiratory problems for building occupants.
Being able to detect mold risks before they become major issues is very important for the safety of any structure. The trouble is that the traditional signs of mold growth—discolored walls/ceilings and musty odors—are often only noticeable after the mold has had enough time to really settle in.
One way to identify potential mold risks so you can fix them is to use a moisture meter and thermo-hygrometer. How does using moisture testing tools help locate mold risks? Here are some of the ways that you can use moisture testing tools to find mold risks so you can remediate them.
Using Thermo-Hygrometers to Check Ambient Humidity Levels
Before you start testing every random surface in a structure, it can help to use a thermo-hygrometer to narrow down the search area. How does a thermo-hygrometer help speed along the process of finding mold risks in a structure? By measuring the relative humidity (RH) of the air in different rooms.
Mold growth occurs most frequently in dark, moist environments. Excess moisture in building materials will often lead to higher humidity levels in that area as the moisture evaporates into the air. With a thermo-hygrometer (also known as an RH meter), you can check the RH (and Temperature) conditions of each room and identify rooms with a higher humidity level than what is average for the structure.
Rooms or areas with high concentrations of humidity are also more likely to have standing pools of water which contribute to mold growth and attract pests. Being able to tell which areas in a structure have high humidity allows you to narrow down your search for the source of the problem. In short, instead of having to manually check every surface in the building with a moisture meter, you’ll be able to focus on a small handful of affected rooms.
The process for using a thermo-hygrometer to check for humidity in the air can be relatively simple, depending on the model you use. With some RH meters, getting humidity measurements is as simple as holding the meter up to the air for a few seconds and pushing the right button. However, it helps to follow some consistent guidelines to ensure accurate and reliable RH readings:
- Choose the Right Spot to Take the Reading. Proper placement is crucial for getting a good sample of the air in a given room. The hygrometer’s manual should provide instructions for placement, but two key guidelines include not placing the device over standing water and avoiding corners or other areas where the airflow is restricted.
- Take Multiple RH Readings. RH meters have a built-in margin of error known as “sensor tolerance.” The severity of this margin of error may vary depending on the quality of the thermo-hygrometer, but good-quality devices have a tolerance somewhere around +/- 2%. To counteract this phenomenon and ensure accurate results, it’s important to take multiple relative humidity readings and average the results.
- Check the Condition of the Sensor Element. The sensor element on a thermo-hygrometer is highly sensitive to contamination from particulates in the air. Contamination and degrade of the sensor begins as soon as it is exposed to air. Once contaminated, it is impossible to clean (and most attempts to clean a sensor only cause further damage). So, it will need periodic replacement to ensure accurate humidity assessments. Before using an RH meter, be sure to check the sensor calibration. A reference sensor or, salt solution test can be used to check the accuracy of the RH meter.
After checking the relative humidity conditions throughout the structure, you can compare the different RH readings to see which rooms have a higher than average amount of humidity. These rooms are more likely to contain a moisture intrusion source that poses a mold risk.
Using Moisture Meters to Find Mold Risks
Having identified the rooms with high relative humidity readings, it’s time to start testing the moisture content (%MC) of building materials in those rooms. Using moisture testing tools such as pin or pinless moisture meters can help you find moisture intrusion sources that pose a risk of causing mold growth—such as leaky pipes hidden in the walls of the building.
The process for finding mold risks is similar to the process for finding moisture intrusion sources in a structure—and uses similar tools.
How you start your search will depend on the type of moisture meters you have on hand for the job:
Pinless Moisture Meters
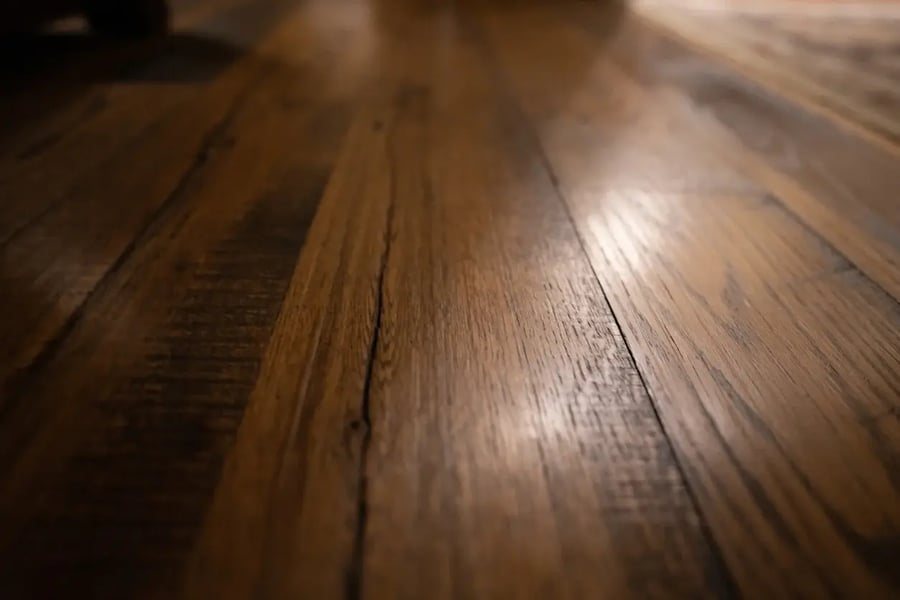
Pinless moisture meters use electromagnetic frequencies to “scan” building materials for the presence of moisture. These meters are often preferred by home and business owners because they can take measure moisture content without having to cause any cosmetic damage to hardwood floors or other materials that they want to keep unblemished.
Another reason that people often prefer pinless moisture meters is that they are fast and easy to use—making them able to cover large areas quickly. So, pinless moisture meters are often used right after thermo-hygrometers to quickly check entire rooms of a structure that have been singled out for high humidity levels.
With a pinless moisture meter, you can press the scanning plate against a flat surface and press a button to activate the meter. This gives you a near-instant average of the moisture for the area below the scanning plate to a set depth. The depth of the scan may vary from one model of pinless moisture meter to the next—Delmhorst’s ProScan moisture meter scans to a depth of 3/4”.
When using pinelss moisture meters, it’s important to keep in mind some of their limitations for testing for mold:
- The Set Scanning Depth. A quality pinless meter has a specified scanning depth will detect moisture to about that depth, +/-. So, be aware of the meter's penetration spec, knowing that materials within or even below the field may have impact on the readings.
- The Need for a Flat Surface. To ensure accurate moisture testing with a pinless moisture meter, the scanning plate of the meter needs to make smooth contact with the material being scanned. The meter works best on materials with a flat, smooth surface. If the surface is curved or has a rough and uneven texture, it could compromise the accuracy of the MC measurement.
- The Meter’s Averaging of Moisture Content over Several Inches of Space. Pinless moisture meters scan an area as large as the plate on the meter’s bottom and averages out the moisture content from the whole area, with heavy emphasis on the area closest to the sensor (surface).
Pinless moisture meters are often best used on drywall, wood flooring, structural support beams, and other materials that are sufficiently solid, flat, and thick enough to accommodate the meter.
The best use of a pinless moisture meter in searching for mold risks is to rapidly check large areas for signs of moisture intrusion that could lead to mold growth.
Pin-Type Moisture Meters
Pin meters work differently from pinless meters. Pin meters measure electrical resistance to determine the moisture content of materials. These meters work by pushing two electrodes (pins) into hygroscopic building materials. Then, an electrical current is passed through one pin into the other—with the material between the pins completing the circuit.
Since water is a conductor, the less resistance there is to the current, the more water there is in the material.
The primary advantages of pin moisture meters are that they can:
- Get Precise Readings of How Deep a Moisture Pocket is. With insulated pins, it is very easy to get a precise assessment of how deep a moisture pocket is in a piece of wood or other types of building materials.
- Check Moisture Content in Uneven Surfaces. Where pinless meters require a flat, solid surface to work, pin-type meters can be used to check for moisture in curved surfaces or in materials that aren’t solid enough for pinless devices—such as insulation. Many professionals use pin meters with extra-long probes to check moisture in fiberglass insulation when they’re looking for mold risks in buildings.
- Penetrate Drywall to Check Insulation. Most insulation in a structure is hidden behind walls and not readily accessible. Some pin moisture meters support high-durability probes designed to punch through drywall so the user can test the insulation behind it. This is immensely useful for finding hidden moisture pockets.
Both pinless and pin-type meters are essential tools for checking for mold risks in a structure.
Tips for Finding Mold Risks with Moisture Meters
- Start with Thermo-Hygrometers. Narrow down your search area by using thermo-hygrometers to find rooms in the structure that have a higher-than-average level of humidity.
- Use Pinless Meters to Identify Moisture-Compromised Materials. Pinless moisture meters can help quickly identify which building materials have excess moisture—and thus may be harboring mold growth.
- Check Insulation and Other Loose Materials with Pin Meters. For those building materials that cannot be checked with a pinless meter, use a pin-type meter to get detailed moisture measurements.
- Bring Longer Probes for Checking Insulation. Mold can frequently be found in building insulation, as it is usually hidden behind walls where you cannot see it. Since insulation is an irritant, and quite thick, it’s important to bring longer probes for testing moisture in insulation. This way, you can get deep inside the insulation where the moisture is most likely to pool while keeping your hands as far away as possible.
- Test Insulation from Multiple Angles. When checking insulation, it’s all too easy to miss a moisture pocket. To ensure thorough moisture content checks, it’s necessary to test each piece of insulation from multiple angles.
- Check the Attic, Exterior Walls, and Areas with Pipes Especially Closely. Some of the most common sources of moisture intrusion that can cause mold growth are holes in the roof, gaps in the exterior wall near the foundation, and leaky pipes. Checking these areas is a good way to start a search for mold risks.
Need more help and advice for using moisture testing tools to find mold risks in a structure? Contact the team at Delmhorst!