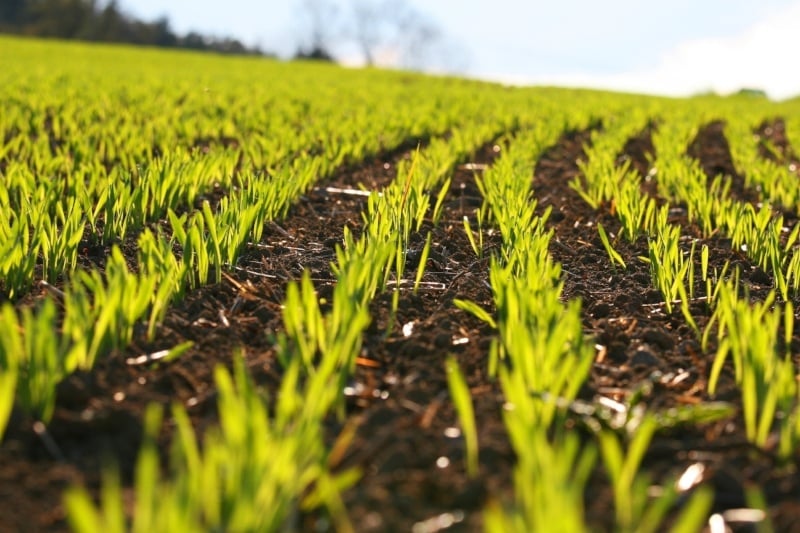
It’s easy for the layman to forget about issues such as maintaining soil moisture in the winter, as many crops are harvested before the winter begins. However, agriculture specialists know that maintaining the moisture content of their soil at a healthy level year-round is vital for preventing soil erosion and nutrient loss.
Also, some crops may be planted later in the year, and some regions have different seeding and harvest seasons because of differences in the weather. For example, as noted in a U.S. Department of Agriculture report, barley is typically planted somewhere between Nov. 15 and Feb. 5 in Arizona but is typically planted between March 15 and May 25 in Wyoming.
Varying planting dates helps to ensure a more consistent supply of fresh crops that would otherwise be out of season—which is another reason why some crops are planted at different times of the year.
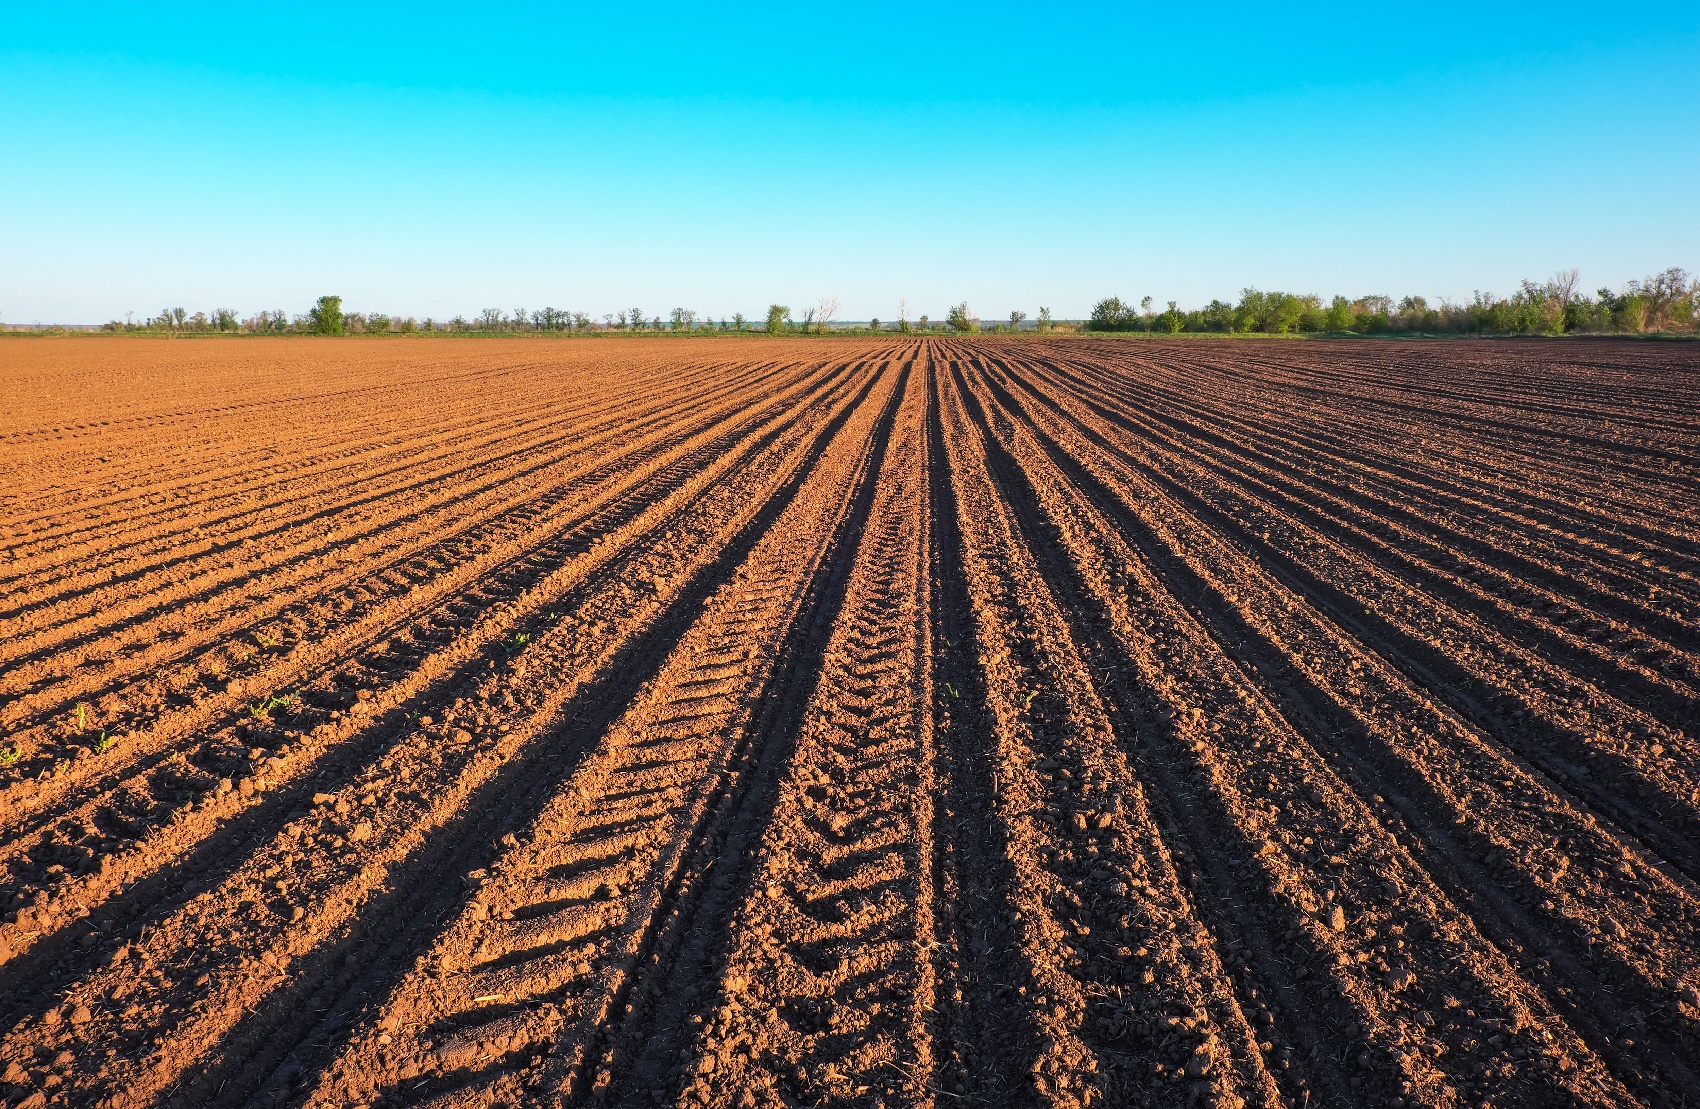
Whether you’re growing a crop during the winter or just want to keep your soil ready for the next planting season to begin, it’s important to carefully monitor and control your soil’s moisture content to prevent moisture loss in winter. But, how can you do this?
Using a Soil Moisture Meter to Monitor Soil Moisture in Winter
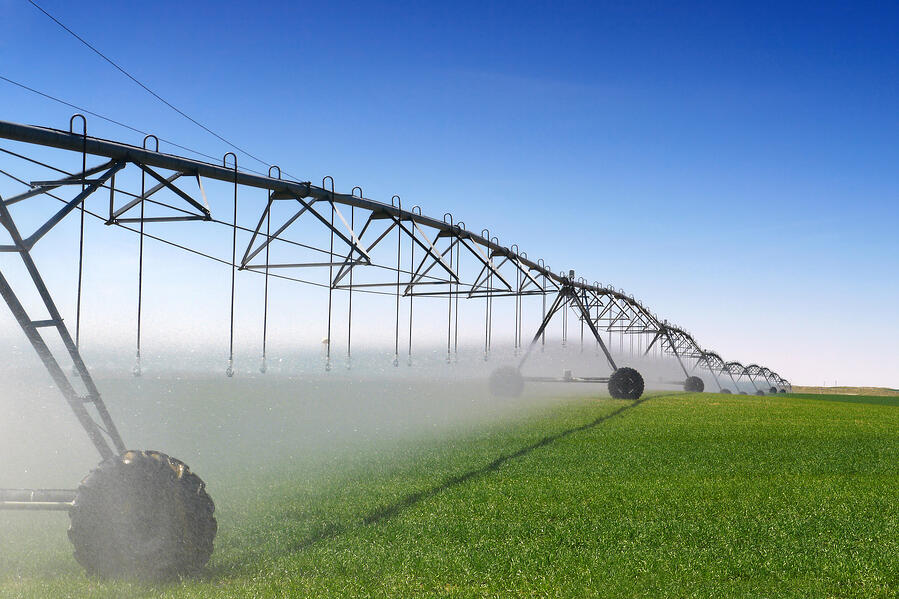
One of the easiest ways to accurately gauge the moisture content of soil at any time of the year is to use a soil moisture meter with gypsum sensor blocks. Such a moisture testing tool for agriculture can greatly improve your ability to monitor soil moisture content so you can practice better irrigation during the winter season.
However, there is a process for using a soil moisture meter. First, you have to install the gypsum sensor blocks for the moisture meter into the soil. Here’s the process:
- Using a 1” soil auger, dig two holes at each spot in the field where you want to test your soil’s moisture content. Ideally, these holes will be placed at the end of a row, where they won’t be in the way during harvest time. One of these holes will be the “shallow” hole, and the other will be the “deep” hole, so you can have a more complete picture of the distribution of moisture in the soil. The ideal depths for each hole are determined by the root zone of each crop you plant.
- Make a soil and water slurry mixture with a creamy consistency, then place one or two tablespoons of the slurry into each hole.
- Push a single gypsum block into each hole’s bottom and make sure it is completely covered by the slurry mixture.
- Backfill the hole and tamp down the soil throughout the process so it is as firm as the surrounding soil.
- Stick the leads of the electrodes to a post or stake so they are easy to find (and don’t get dirty from being left in the soil). Affixing a tag to one of the leads can help you differentiate between the shallow and deep blocks.
Soil Moisture Block Depth Table:
|
Active Root Zone Depth |
Shallow Block Depth |
Deep Block Depth |
|
18” |
8” |
12” |
|
24” |
12” |
18” |
|
36” |
12” |
24” |
|
48” |
18” |
36” |
Once you’re ready to test the moisture content of your soil, simply connect your soil moisture meter to the sensor block’s leads and take a reading.
It’s important to use a moisture meter that is designed to work with the gypsum sensor blocks to get the best results.
What’s the Ideal Moisture Content of Soil?
When working to keep the soil at the right moisture content during winter, it’s critical to know what the ideal moisture content of the soil would be. This, however, is a value that might change depending on the type of soil you have. Soil can be broadly divided into three categories: Clay, loam, and sandy—also known as fine, medium, and coarse, respectively.
Here’s a chart of the appropriate soil moisture content for each type of soil:
|
Soil Type |
No Irrigation Needed |
Irrigation Needed |
Dangerously Low Soil Moisture |
|
Fine (Clay) |
80-100 |
60-80 |
Below 60 |
|
Medium (Loamy) |
88-100 |
70-88 |
Below 70 |
|
Coarse (Sandy) |
90-100 |
80-90 |
Below 80 |
Finer soils tend to hold moisture more easily than coarser ones, so they don’t need to be irrigated as often and can tolerate having an overall lower moisture content.
While the above chart is useful, it’s important to remember that it should be used as a guideline and not as a hard rule. Soil rarely fits perfectly into one of the three types listed above. Instead, it usually falls onto a gradient between these three points. Additionally, the numbers in the chart above aren’t an absolute measure of soil moisture content, but rather an approximation of how close the soil is to achieving total saturation.
If not actively growing a crop, it may be ideal to apply irrigation to the field whenever the moisture content of the soil slips into the low end of the “irrigation to be applied” value. This can help you avoid letting the soil become too dry without overwatering it and causing soil erosion.
It can help to apply a minimal amount of irrigation early in the morning or late at night when the sun isn’t high overhead to evaporate the moisture before the ground can soak it up. It’s also important to irrigate regularly enough to keep the top layer of soil from becoming completely dry, as dry topsoil may not absorb moisture as readily.
Need help finding the best soil moisture testing tools to help with your agriculture efforts? Reach out to the team at Delmhorst today to learn more about soil moisture meters and sensor blocks.